Note: this is a post I created in 2018. I got distracted by some other things and forgot to fully update it. I made some further updates when I discovered the issues in 2021. Sorry!
This is the second cluster system that I’m exploring this summer. In recent years a lot of commercial microcluster solutions have started popping up. Last post, I reviewed PiRacks. In this post, I will review Picocluster. As before, I am not getting paid for this review (nor do I wish to). I’m simply interested in seeing how well this system works for classroom use.
Unlike the PiRacks and the 3D printed case that I co-designed, the PicoCluster is more than just a case design. You can buy fully assembled case+cluster, or a starter kit. There are cluster configurations for the Raspberry pi, the Odroid C2,and the Rock64 SBCs. My own personal thought is that the fully assembled cluster (at $417 for a 3-node Raspberry Pi) is just too expensive for classroom use. You can get the case components for $79.00, or the case + a switch for $139.00. The last setup intrigued me. Could we use this to assemble a cluster for classroom use?
First impressions
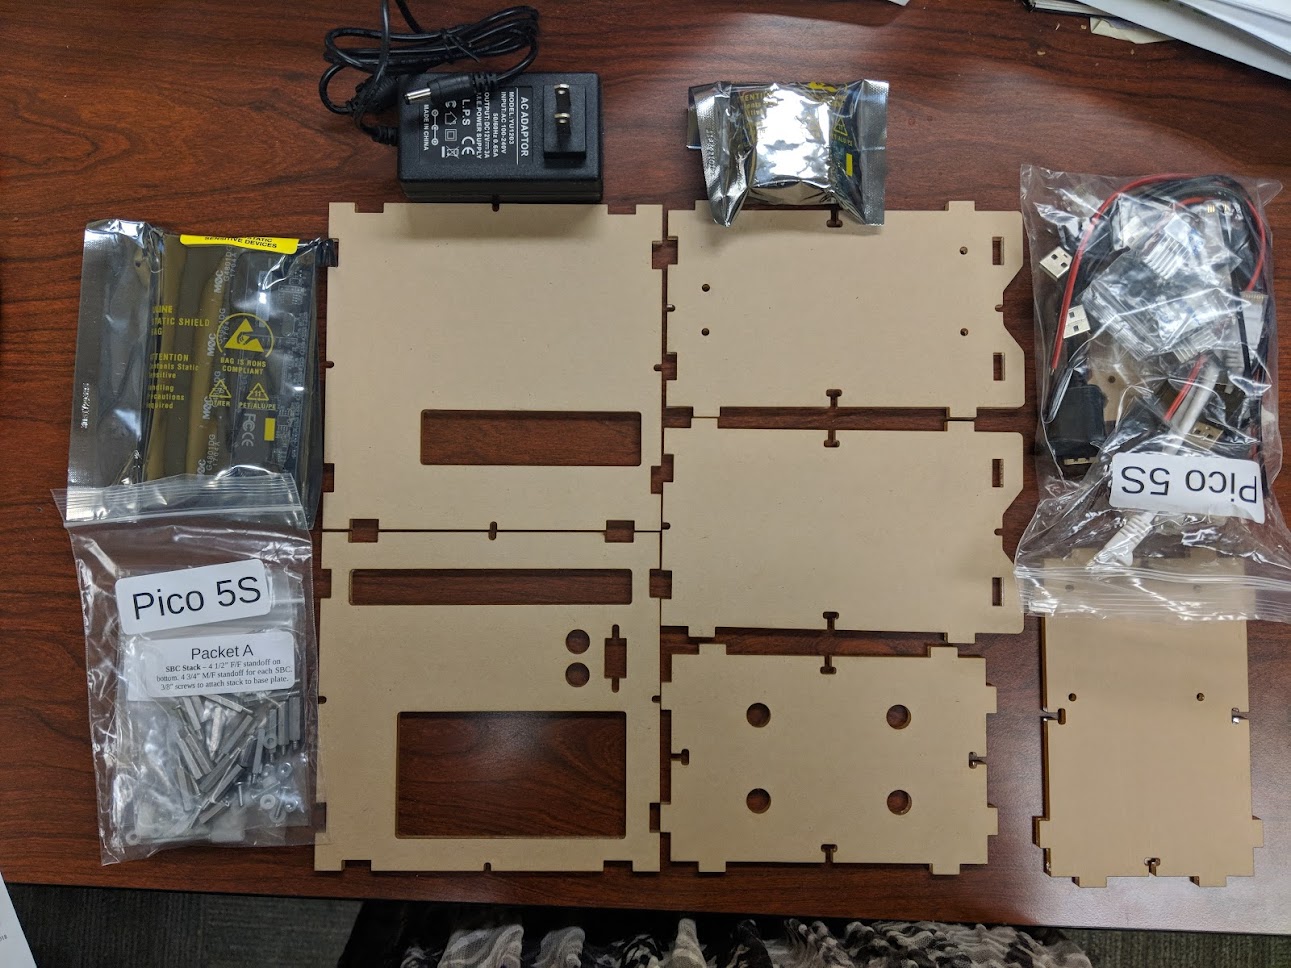
The picture below shows all the components that came in the PicoCluster box.
One thing you should be ware of is that there are no instructions that come packaged with the components. You need to go online to look at assembly instructions. I was surprised about this at first, but it makes sense when you see the level of detail that are provided online. However, I think it would have been nice if there was a card or something in the box that said “go to this link for instructions on how to assemble”.
The components in this set are arguably much sturdier and more well-designed that the PiRacks solution. Furthermore, this comes with a switch, and all the cables included.There were five acrylic boards, a bag of metal stand-off pieces, networking cables and a few other things. So far, so good. Below you can see all the components laid out:
Assembly: Attempt 1
The first part of assembly is connecting the Raspberry Pis together. This is accomplished through the use of the metal standoffs. I assumed this would be a trivial process, considering how easy it was to assemble the PiRacks, which had a similar assembly structure. Boy, was I wrong. The metal standoffs were a tight fit in the mounting holes of the Pi. I had to prethread the metal standoffs in the mounting holes before attaching the Pi.
Surprisingly, it took me an incredibly long time to even stack five Pis. This could largely be due to my relative inexperience with metal standoffs, but I still was shocked how difficult it was. Most of the issue was getting the standoff in the mounting holes. I had some issues with connecting some of the standoffs together, but that was usually because I wasn’t holding my parts perfectly straight. Here is what my cluster looked like once I finished assembling the 5 pis:
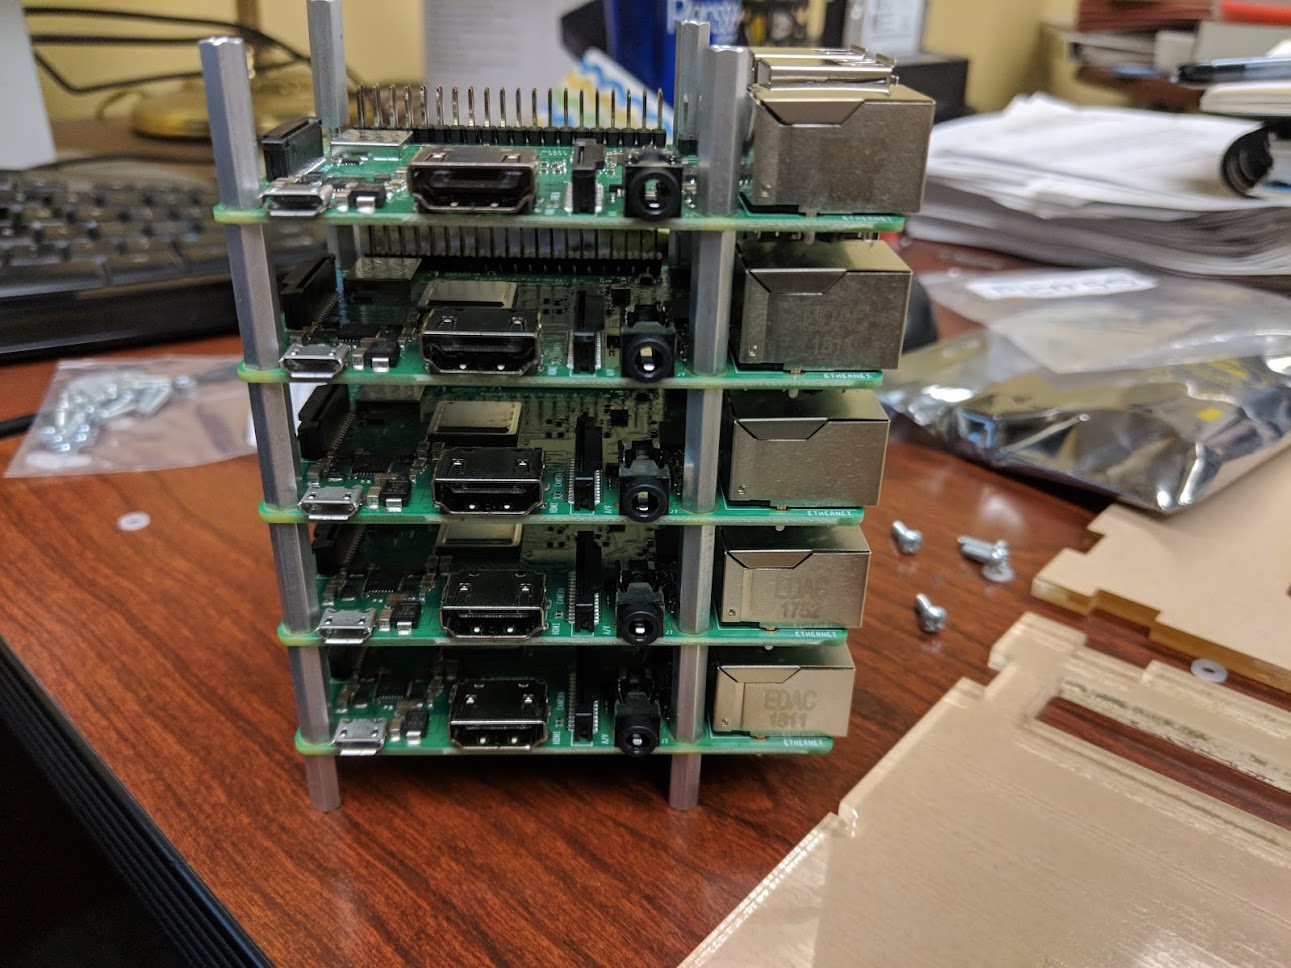
At this point, I felt reasonably confident that I was halfway done. It turned out that the journey was just beginning.
The next component to assemble was the Power Distribution Unit (PDU). I think this is something that is custom designed by PicoCluster, because I could find no documentation on its design anywhere. There were instructions on the PicoCluster website on how to attach it to the cluster, and another page that mentioned that its total power output is 25W.
My first impression when I handled the PDU is that it was damaged. There is a pretty large dent in the heatsink, and one of the wire clamps fell off almost immediately. You can see some of the issues in the pictures below:
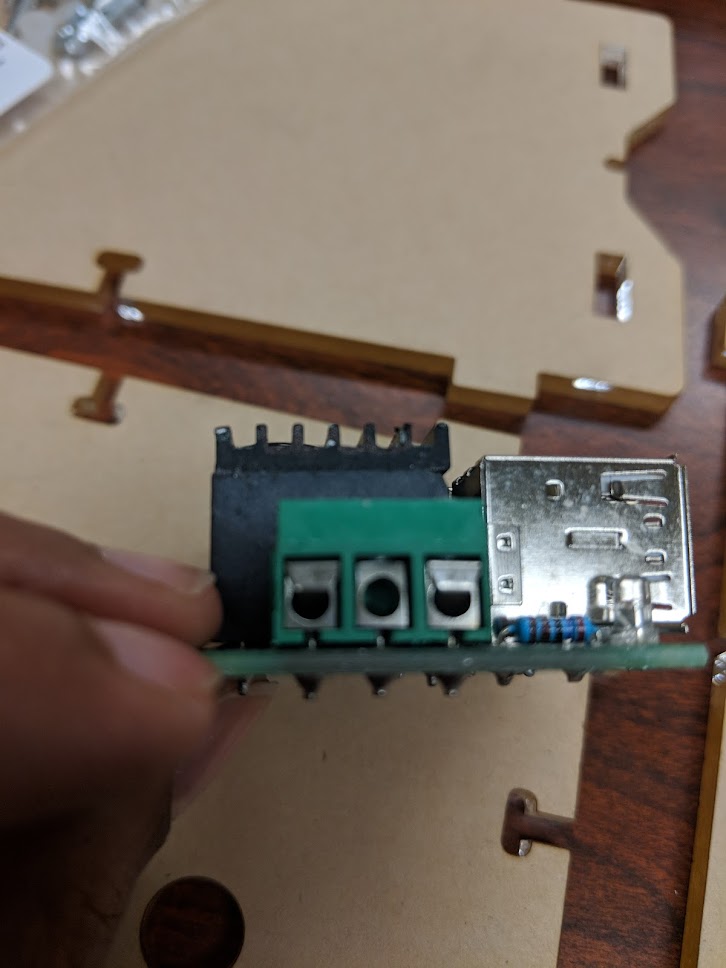
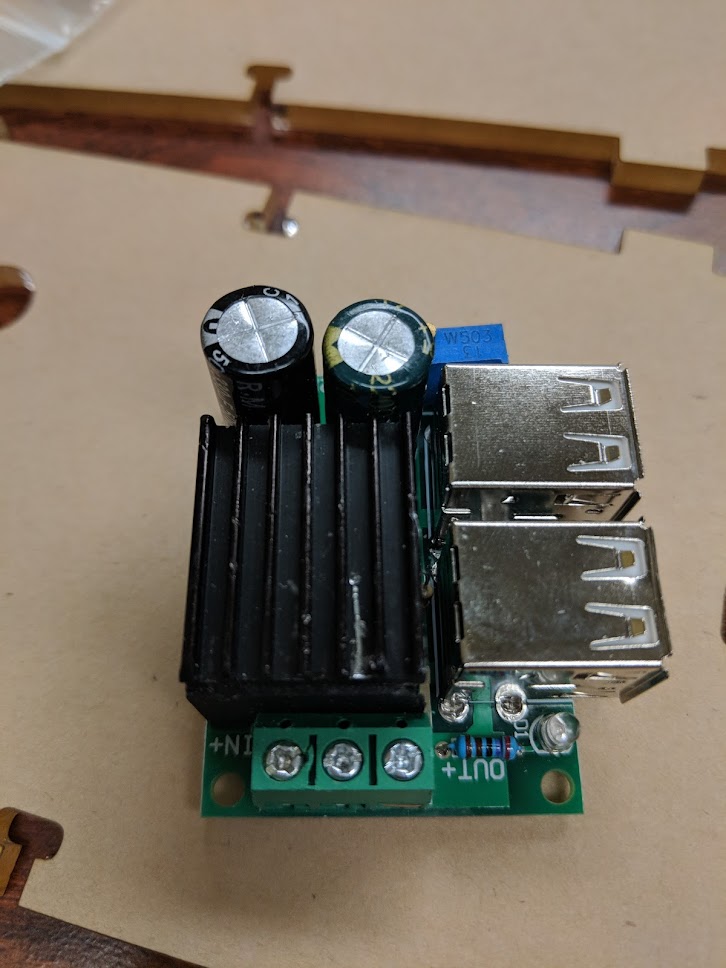
However, there was a larger problem: it turned out that the PDU was not working properly. I asked one of our department techs for help troubleshooting, and he verified that the PDU was only outputting 2.7V (instead of the 5V) that is needed. I reached out to the PicoCluster customer support team, and they responded pretty quickly. With any luck, I will get a replacement part soon.
UPDATE
I got the replacement part in about two weeks which was great. The new PDU worked well! You can see the assembled cluster here:
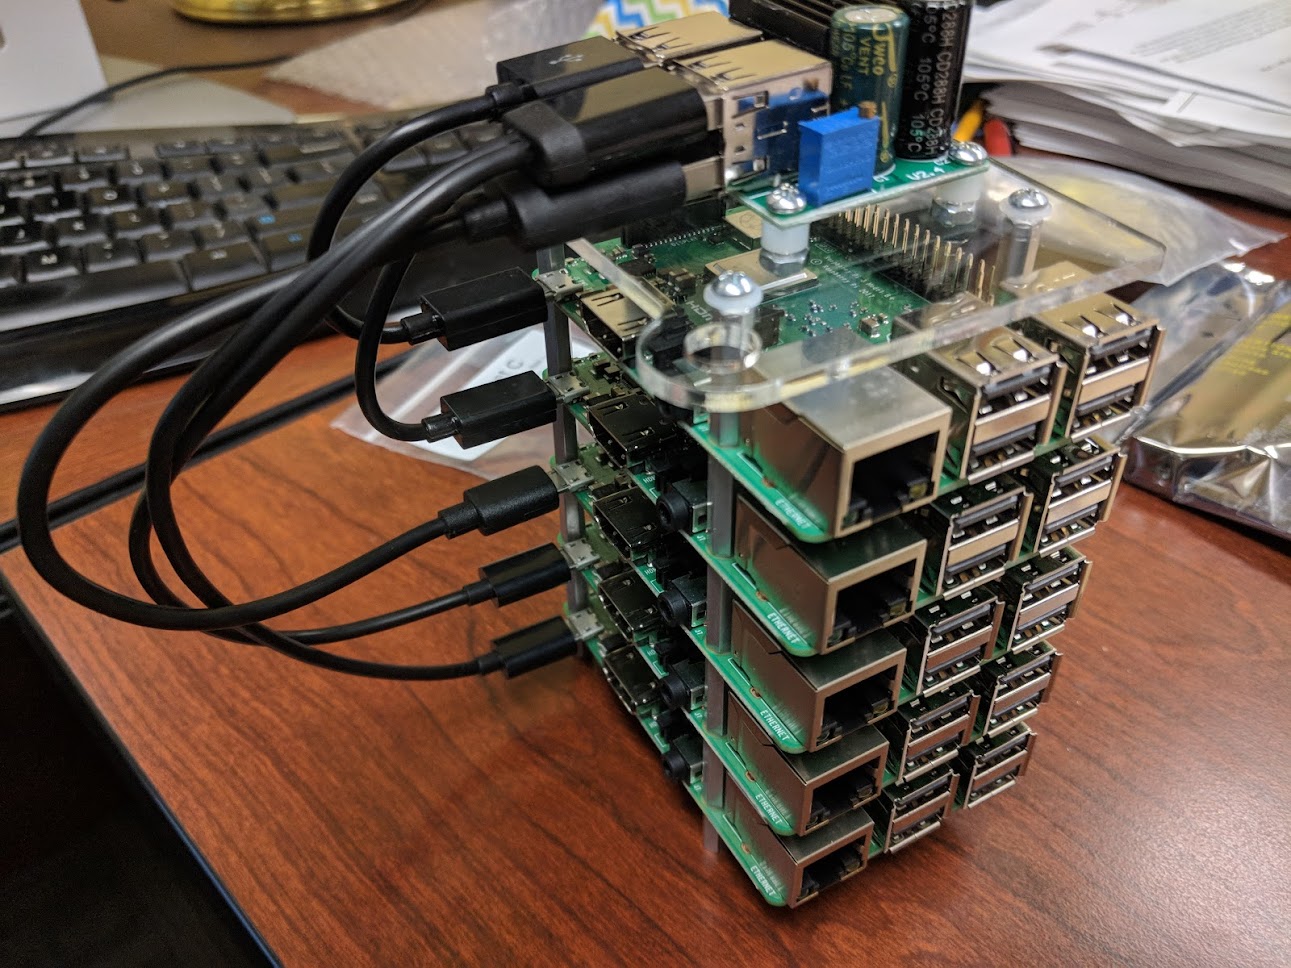
The cluster certainly worked fine, and was a very sleek, compact setup. We ended up using this setup for some undergraduate research. However, one outstanding question is was it all worth it?
Final Thoughts
My feelings about the PicoCluster were mixed. For beginners, this is probably a great setup, since everything is already there. However, the issues with the PDU were very troubling, and I found some configurations to just be prohibitively costly for use in the classroom.
A larger issue is that the Raspberry Pi evolves at such a rapid rate. Any commercial clustering system that comes with power management runs the risk of not keeping up with the times. Furthermore, people who buy clustering systems with power management run the risk of the PDU becoming quickly obsolete with newer and newer Pis. It will be very interesting to see if companies like Picocluster will end up selling a wide array of PDUs to ensure that their customers do not have to buy a completely new kit every time the underlying SBC gets updated.